Step 1: Create a dedicated Vite folder in your projects folder on your local device
- Open the terminal and navigate to a folder where you keep all your projects
mkdir vite-sample-projectto create a new folder in that general folder and usecd vite-sample-projectto go inside that folder.- Once in the vite-sample-project folder:
- Use
mkdir backendto create a new folder - Use
cd backendto move into the backend folder - Once in the backend folder, type in
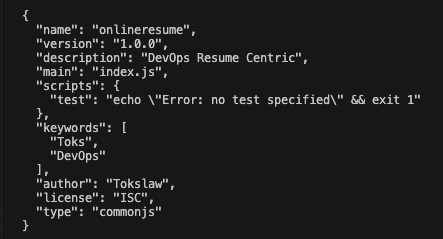
npm init -y- The y flag means fill in the default answer to all questions
- If you want to go through the questions, run the same command without the y flag
Step 2 : Create a Vite project inside your Vite folder
Now that we’ve created a backend folder, we’ll create our frontend folder using Vite.
- Use
cd ..to move one folder up in the file structure. You should be in your “vite-sample-project” folder. - In the “vite-sample-project” folder, we will run a command to generate a new Vite frontend project.
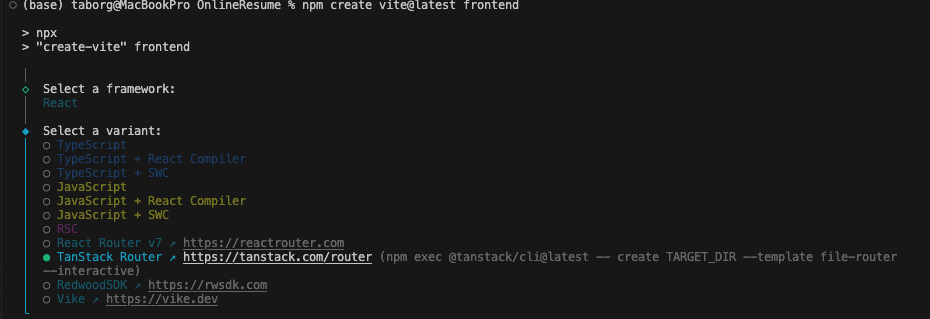
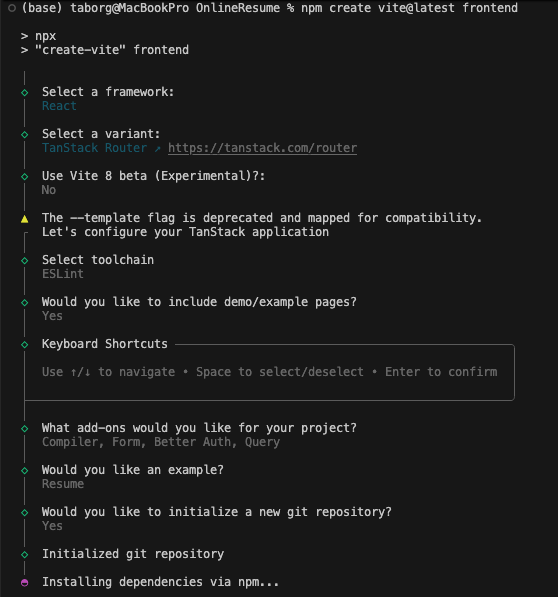
- In the terminal, run
`npm create vite@latest frontend -- --template React` - This will create a new frontend folder.
Step 3: Confirm Your File Structure
```
└── 📁frontend
    └── 📁.tanstack

    └── 📁content
        └── 📁education
        └── 📁jobs

    └── 📁public
        ├── favicon.ico

    └── 📁src
        └── 📁components
    ├── .env.local
    ├── .gitignore
    ├── package-lock.json
    ├── package.json
    ├── tsconfig.json

```
Step 4: Start Your Project
For this to work, ensure that your terminal is pointing at the frontend folder. If not, use cd frontend to go into your frontend folder.
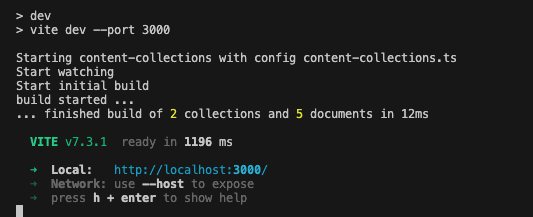
Start Your Project
npm run devIf done successfully, your terminal may look something like this: